


Product Description
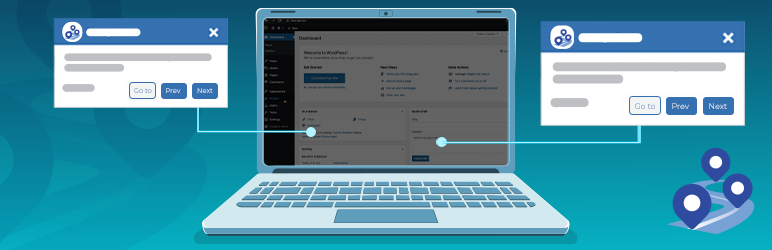
Admin Tour is used to create a tour for the non technial admin user. Generally they do not have idea on how to operate the admin panel even though the developer has given them the detailed demo. After sometime, the admin logs into the panel, they find it quite difficult to operate. Admin Tour will make them feel comfortable.
There is more for developers on this plugin. There are hooks available so that they can add other tour steps as per the customization in the admin side. There is an option in the wp admin bar in the admin side for starting a tour manually. There is also a Dashboard widget available which will have all the tours list and a button to start that tour. By default, when admin logs into the admin panel after 30 days then the tour will start automatically. If you want to change this limit, you can do it using a filter.
Features
- Easy installation
- Show default steps like Posts, Pages, Media, Users and category
- Multi-lingual support
- Free support
CHECKOUT THE ADVANCED FEATURES OF ADMIN TOUR PRO:
- Default steps applied for vendor user of Dokan.
- Dashboard widget added for all the tours within the vendor.
- Compatible with WooCommerce customer.
- Easily customizable.
| Product Information Table | |
|---|---|
| Product Name: | Admin Tour |
| Developed by: | KrishaWeb |
| Latest Version: | 1.3 |
| WordPress version compatibility: | 5.0 or higher |
| Last Updated: | 28-7-2022 |
Installation Steps:
- In your WordPress Dashboard go to “Plugins” -> “Add Plugin”.
- Search for “Admin Tour”.
- Install the plugin by pressing the “Install” button.
- Activate the plugin by pressing the “Activate” button.

